Deploy to DigitalOcean
This tutorial explains how to deploy LabxDB in the cloud using DigitalOcean. For a few dollars per month, you can run LabxDB following the easy setup explained here.
Login to DigitalOcean
- Create a login at DigitalOcean
- Login to your account DigitalOcean login page.
Add SSH key
To connect to your server, a droplet in DigitalOcean vernacular, your SSH login key will be installed by the installation script.
Generate your SSH key
If you don’t already have an SSH key, follow this guide to generate one.
Load your SSH key
After logging in, go to the Security tab of the Account section. Click on Add SSH key:
And copy-paste your SSH key and give it a name:
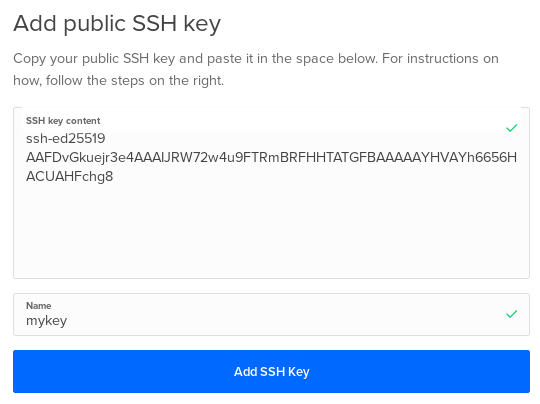
You can then see you added SSH key:

This process is further explained in this tutorial.
Create droplet
Configure droplet
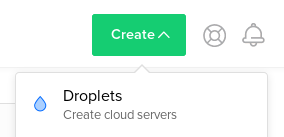
Go to Create Droplets by clicking on the Create button and select Droplets:
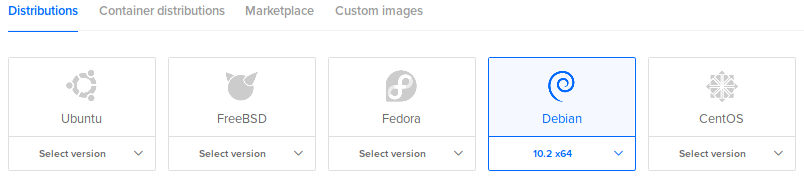
Choose an image and version (Debian 10):
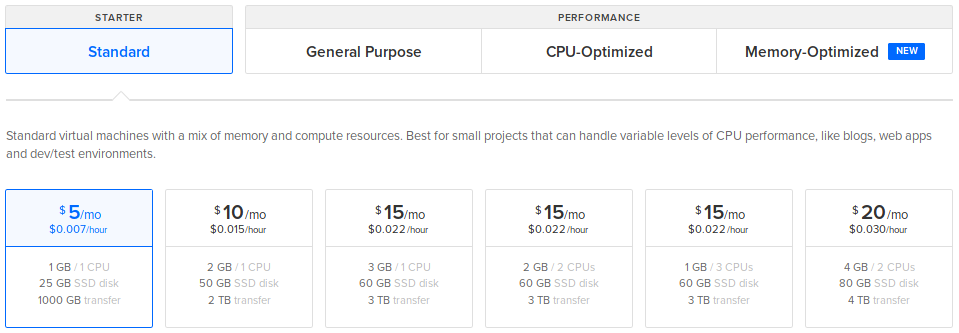
Choose a plan:
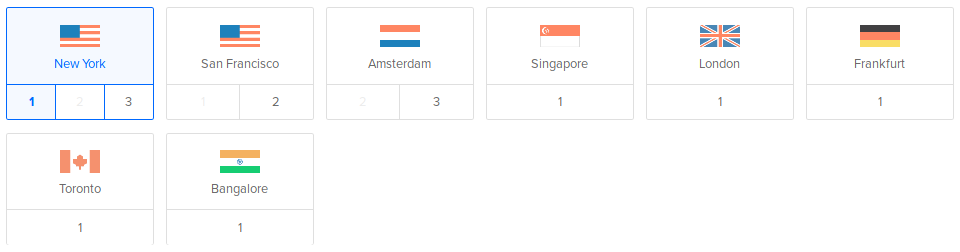
Choose a region:
In Select additional options, select User data:
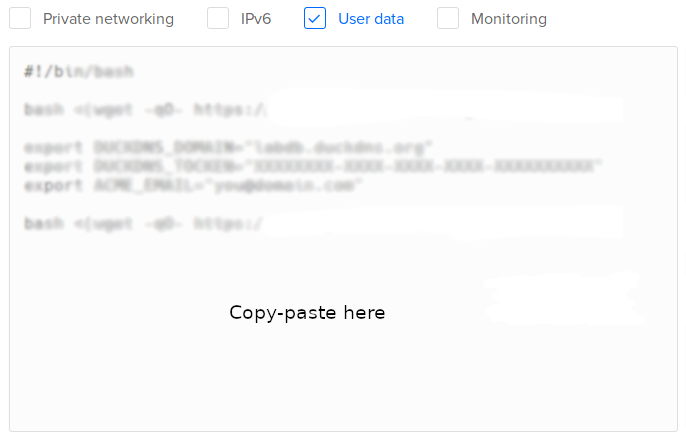
Copy-paste one of the following scripts:
- Test version. Installs LabxDB:
#!/bin/bash bash <(wget -qO- https://git.sr.ht/~vejnar/LabxDB/blob/main/contrib/virt/labxdb_install.sh) - Production version. Installs LabxDB with domain name and security (https+firewall):
NoteWith the parameter
ACME_STAGING="yes", the Let’s Encrypt Staging Environment will be used to sign the SSL certificate. The resulting certificate won’t be usable in internet browsers. This is intented to test deploying LabxDB. To use the regular Let’s Encrypt server, change the parameter toACME_STAGING="no"as described in the post-installation section.- If you created a DuckDNS domain, set DUCKDNS_DOMAIN, DUCKDNS_TOCKEN and ACME_EMAIL (with your email) variables (see here)
#!/bin/bash bash <(wget -qO- https://git.sr.ht/~vejnar/LabxDB/blob/main/contrib/virt/labxdb_install.sh) export DUCKDNS_DOMAIN="labxdb.duckdns.org" export DUCKDNS_TOCKEN="XXXXXXXX-XXXX-XXXX-XXXX-XXXXXXXXXX" export ACME_EMAIL="you@domain.com" export ACME_STAGING="yes" bash <(wget -qO- https://git.sr.ht/~vejnar/LabxDB/blob/main/contrib/virt/dns_nft_caddy.sh) - If you have your own domain name, set DOMAIN (with your domain) and ACME_EMAIL (with your email) variables:
NoteThe installation does not set the IP of your new droplet to your domain name. As a consequence, the certificate creation will fail. Once the droplet installation, restart Caddy as described in the post-installation section to create a valid certificate.
#!/bin/bash

bash <(wget -qO- https://git.sr.ht/~vejnar/LabxDB/blob/main/contrib/virt/labxdb_install.sh)

export DOMAIN="labxdb.mydomain.com"
export ACME_EMAIL="you@domain.com"
export ACME_STAGING="yes"

bash <(wget -qO- https://git.sr.ht/~vejnar/LabxDB/blob/main/contrib/virt/dns_nft_caddy.sh)
- If you created a DuckDNS domain, set DUCKDNS_DOMAIN, DUCKDNS_TOCKEN and ACME_EMAIL (with your email) variables (see here)
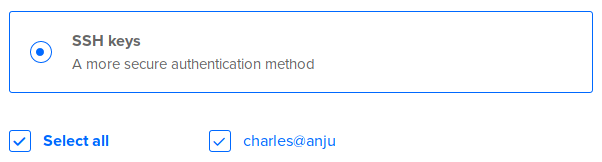
In Authentication, select SSH keys:
Choose a hostname:

Then Create your new droplet.
Start droplet
Go back to main panel at Droplets and wait for the new droplet to be ready:

Post-installation
If you used your own domain name or created a staging domain name using ACME_STAGING="yes", follow these steps to create a valid certificate (be aware of limits):
- Only if you used your own domain name to install a production version: set the IP (in our example
204.48.31.58) of your new droplet to your domain name (at your domain name registrar or DNS provider). Wait a few minutes for the update to be applied. - Only if you are ready to create a production certificate, login to your instance, open with an editor
/etc/caddy/caddy.jsonand update the ACME server from the staging to the production URL by replacing:by:{ "module": "acme", "ca": "https://acme-staging-v02.api.letsencrypt.org/directory" }{ "module": "acme", "ca": "https://acme-v02.api.letsencrypt.org/directory" } - Login to your instance and restart Caddy using (it forces creating a new certificate):
systemctl restart caddy
Connect to LabxDB
Test version
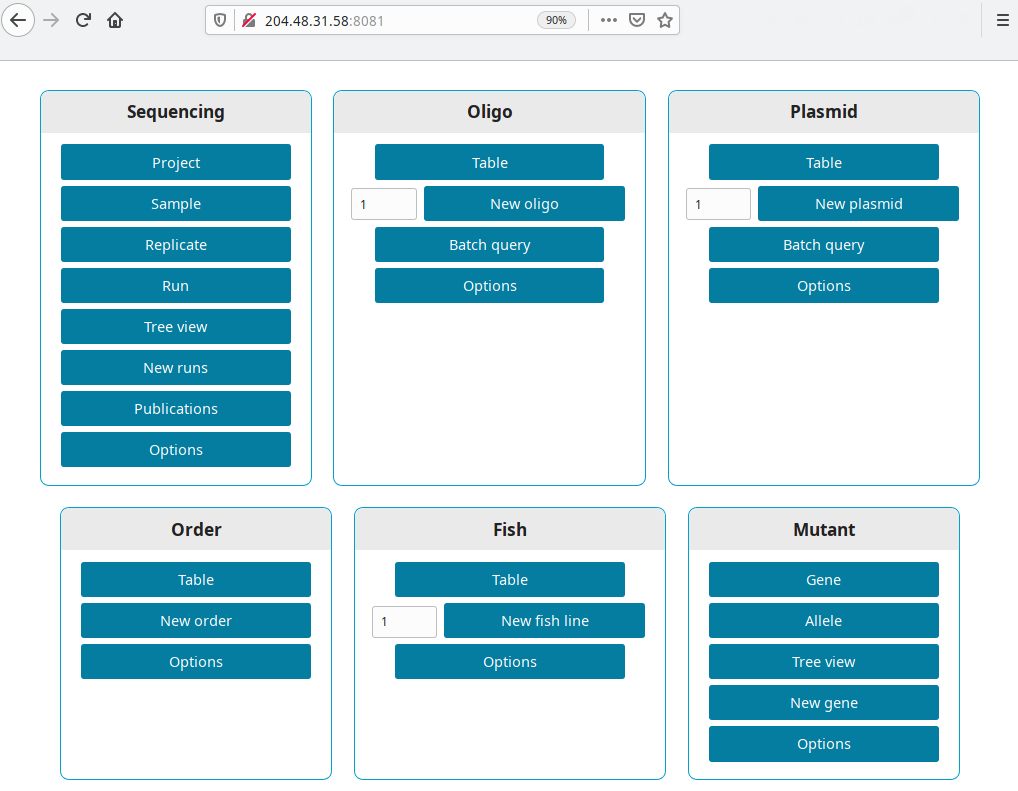
Get the IP from your new droplet (in our example 204.48.31.58). Open a browser and go to http://your ip:8081, i.e. http://204.48.31.58:8081.
Production version
LabxDB is accessible at the domain you set in DUCKDNS_DOMAIN or DOMAIN. For our example https://labxdb.duckdns.org.
The password is defined in /etc/caddy/caddy.json within the http_basic module. To define a new password, it needs to be encoded using:
caddy hash-password
More help is available here.
More configuration
Connect to droplet
Connect with SSH to your droplet using:
ssh root@204.48.31.58
Or, if you setup a domain name (labxdb.duckdns.org here):
ssh root@labxdb.duckdns.org
Troubleshooting
In case the installation is incomplete or failed, the log of install script is saved in /var/log/cloud-init-output.log.
DigitalOcean documentation
DigitalOcean documentation is available for further help.